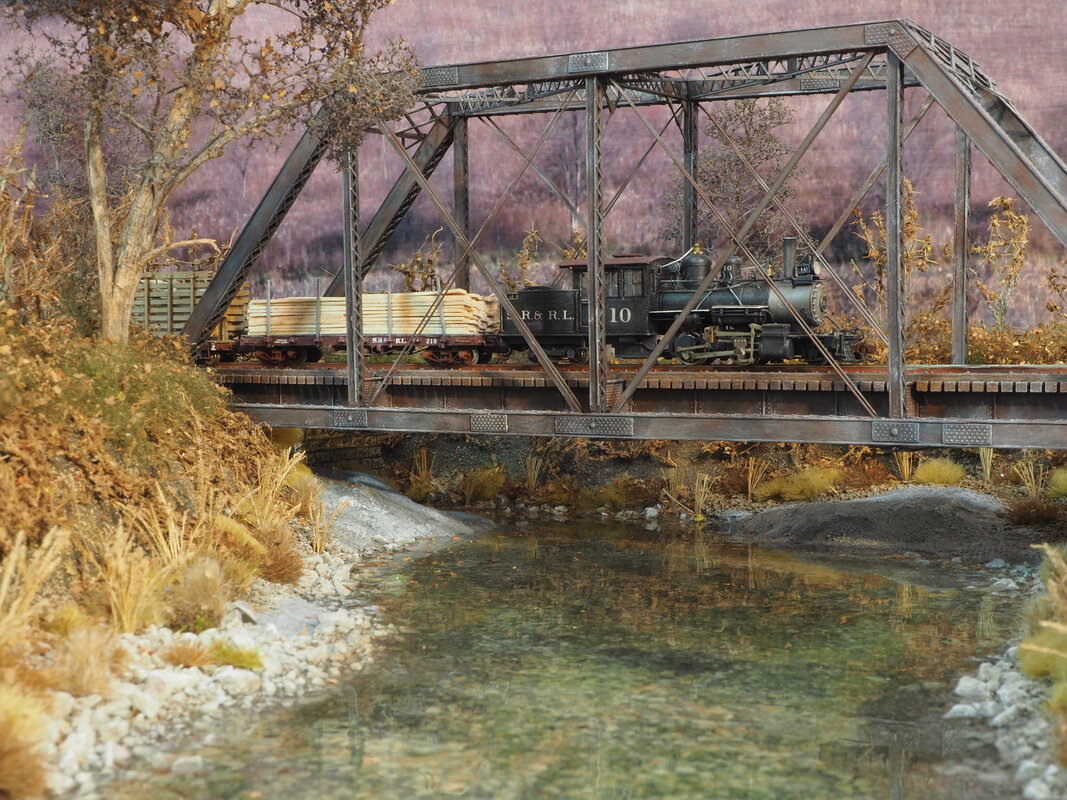
SALMON HOLE
|
|
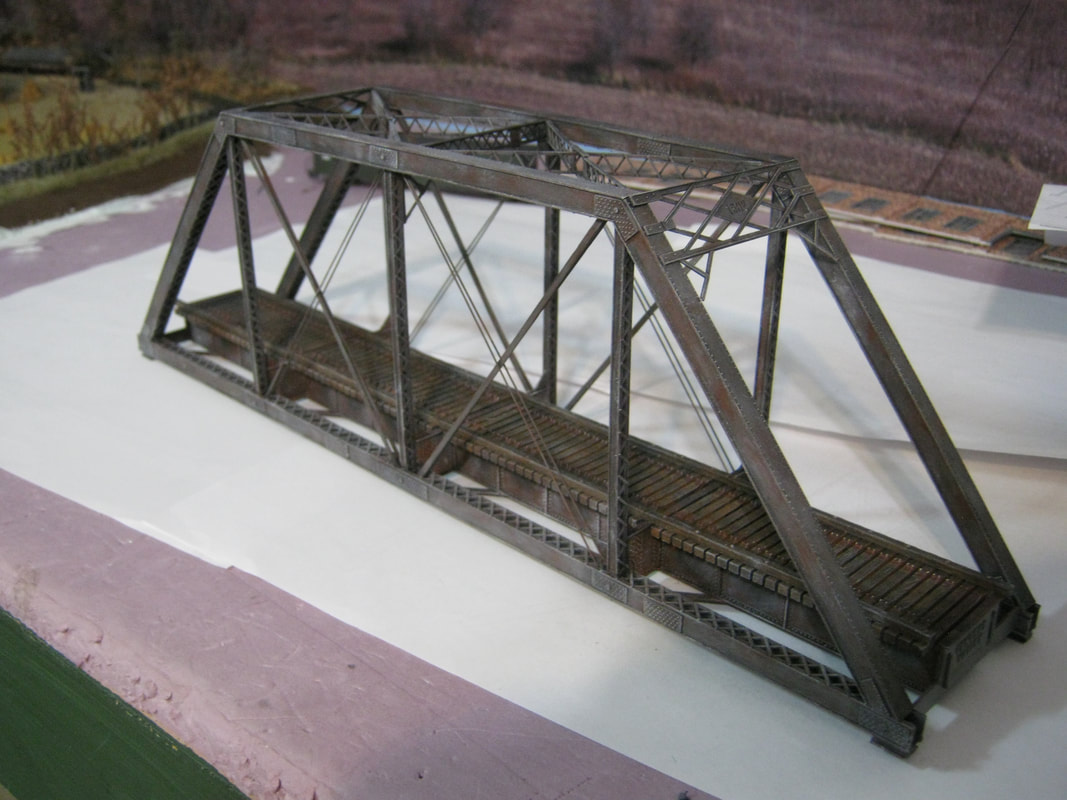
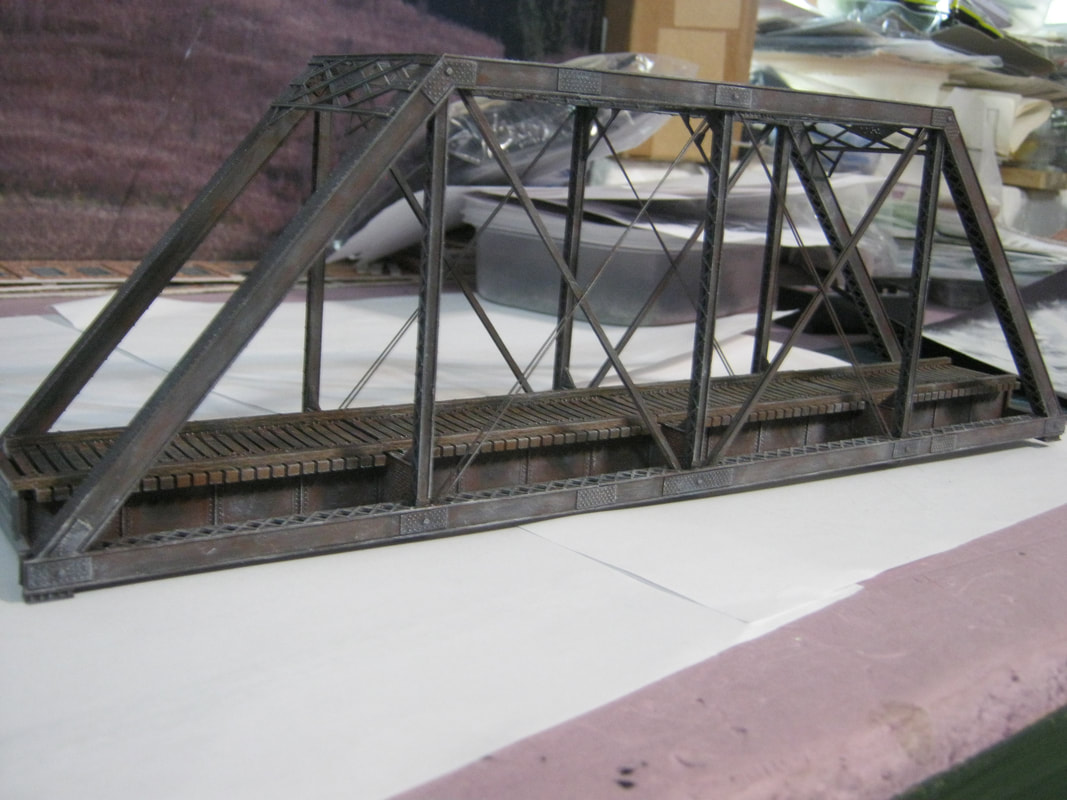
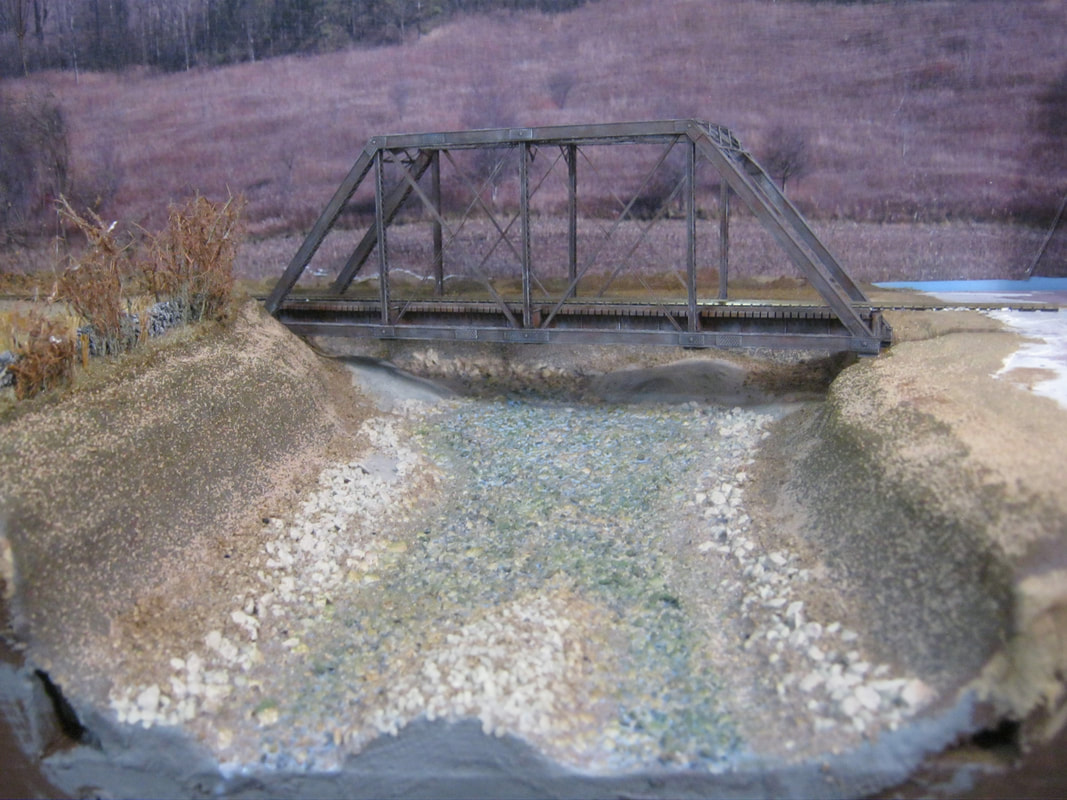
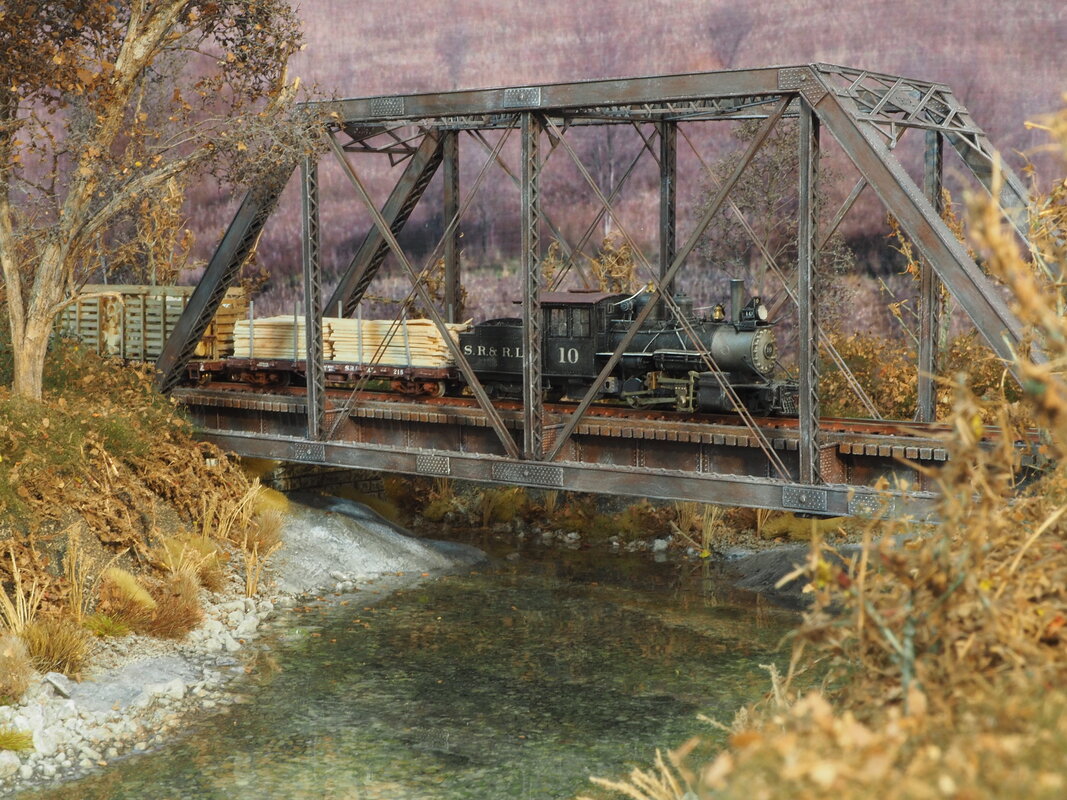
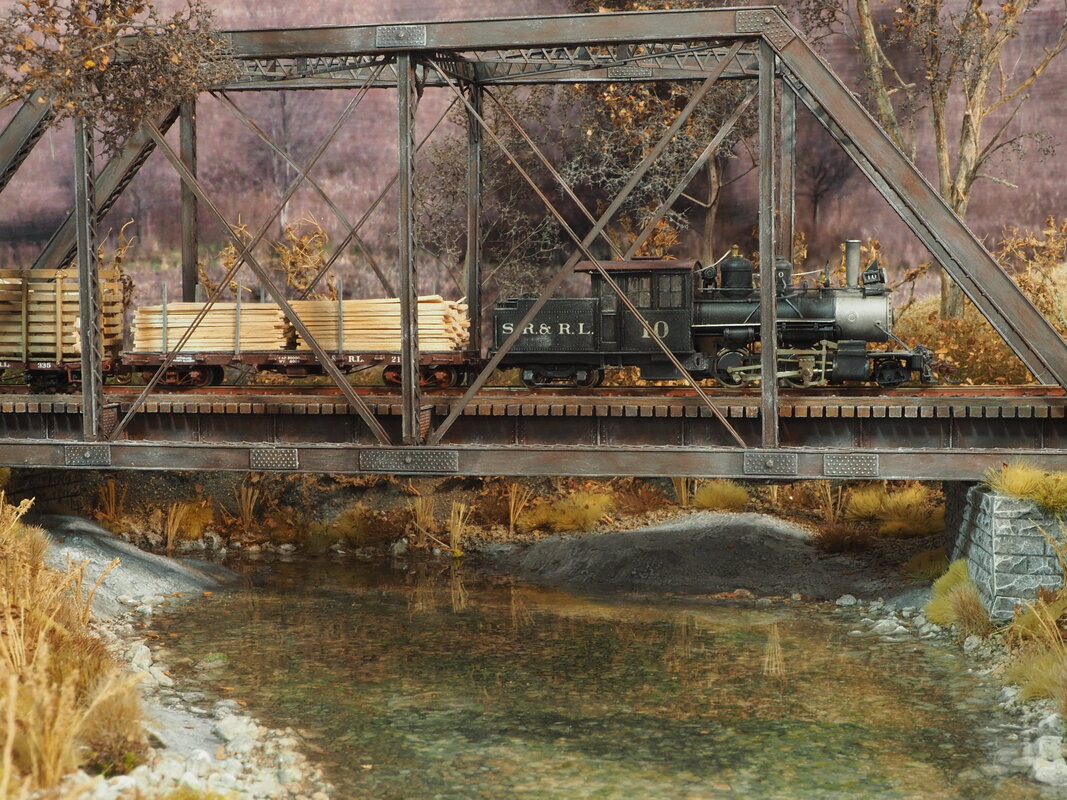
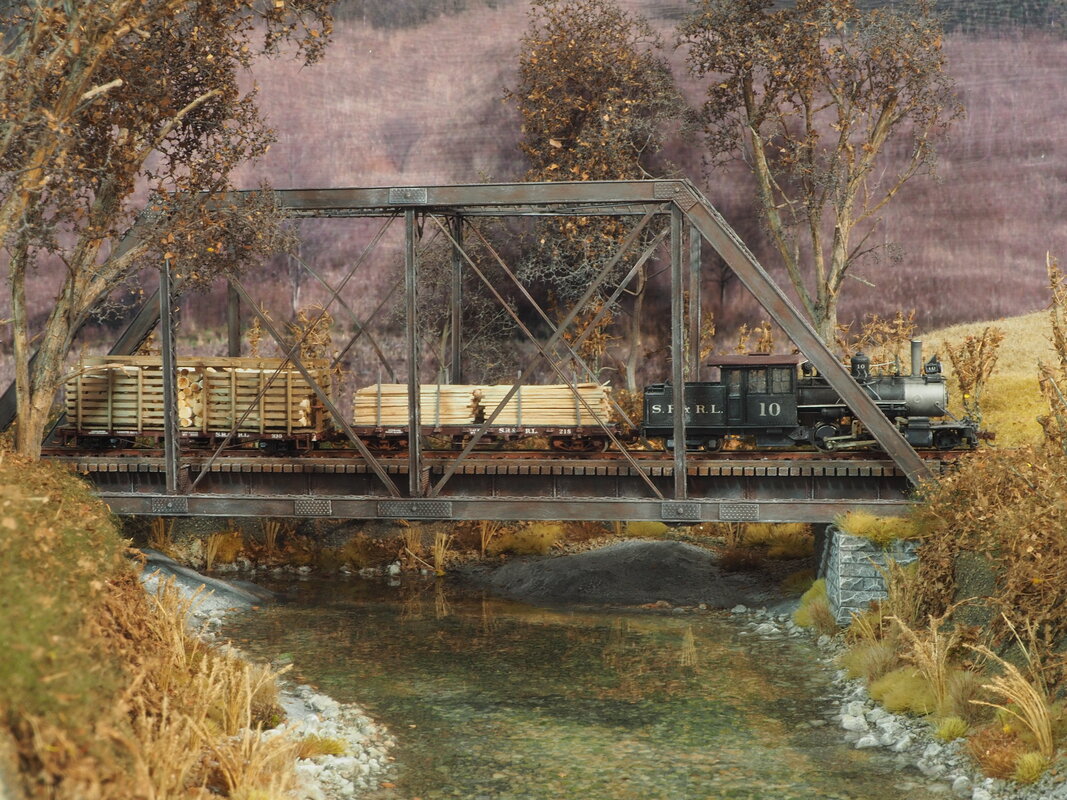
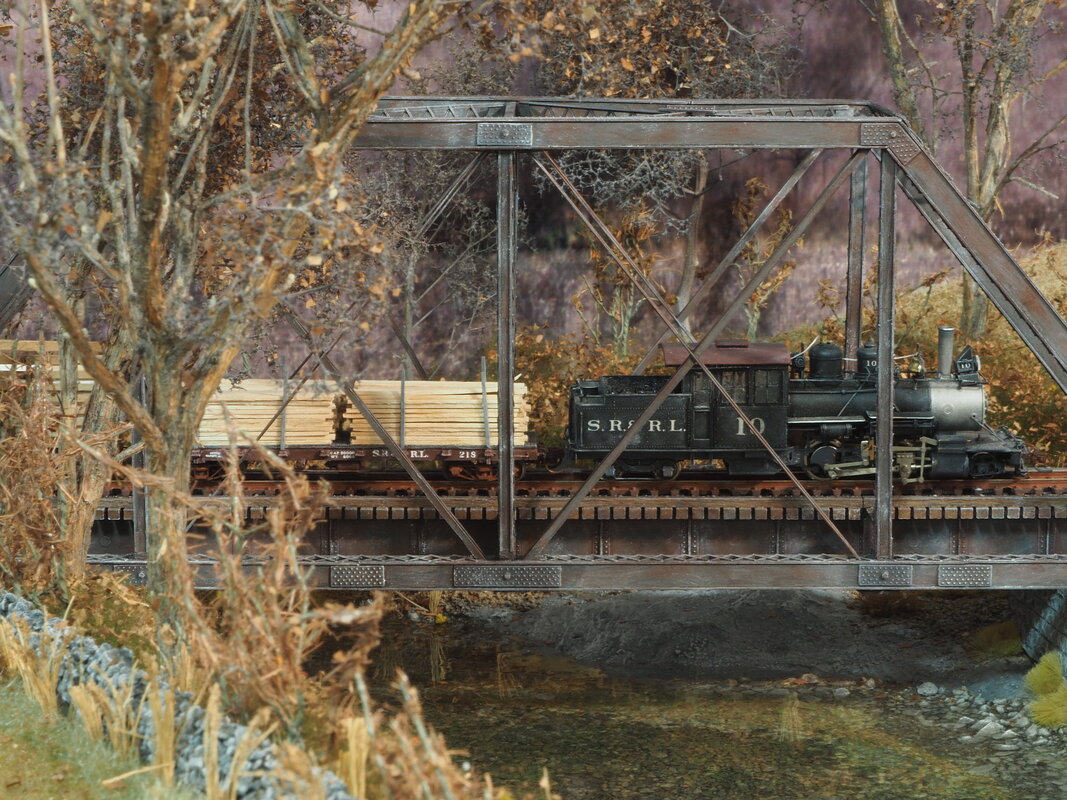
Above is the completed lace girder Central Valley Models bridge kit. The kit comes with enough materials to make it much longer, but this is the length I made it for the space I have. The 'metal' portions were spray painted with gray auto primer, then dry brushed with Model Masters rust. The wooden deck was painted with acrylic brown, and the hardware painted rust. After that, a black wash of Vallejo was applied over the whole bridge, and then dry brushed with Ceramcoat Oyster white.
|
|
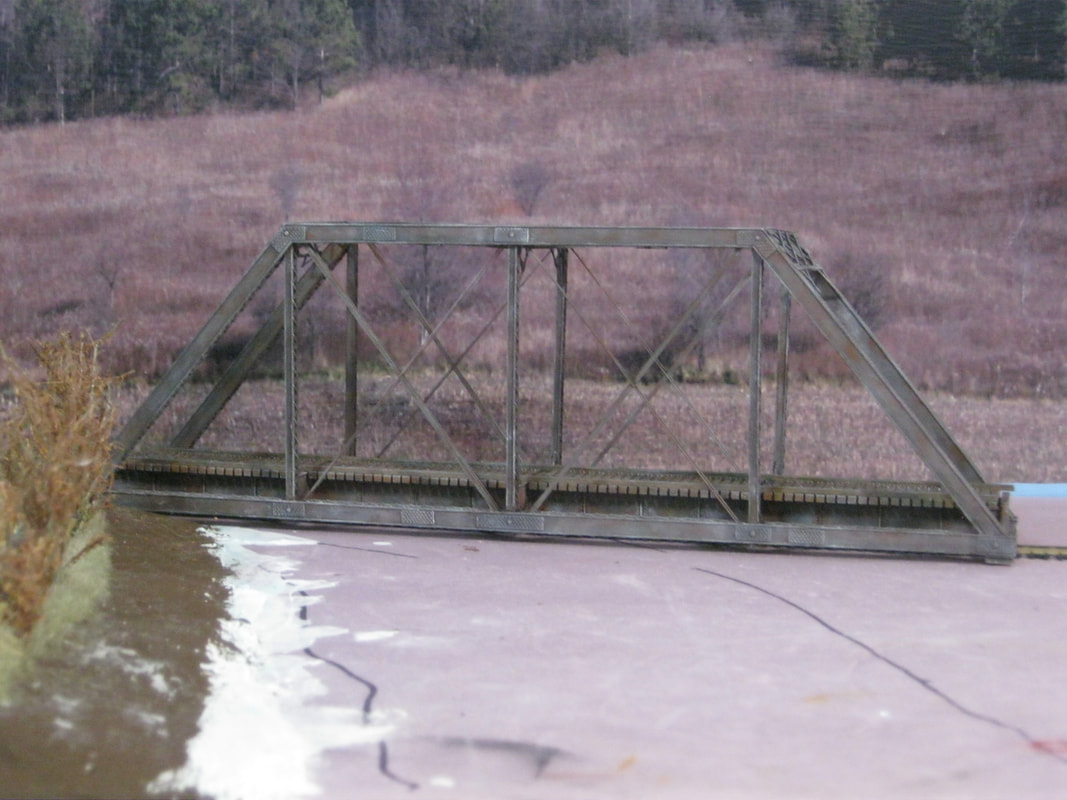
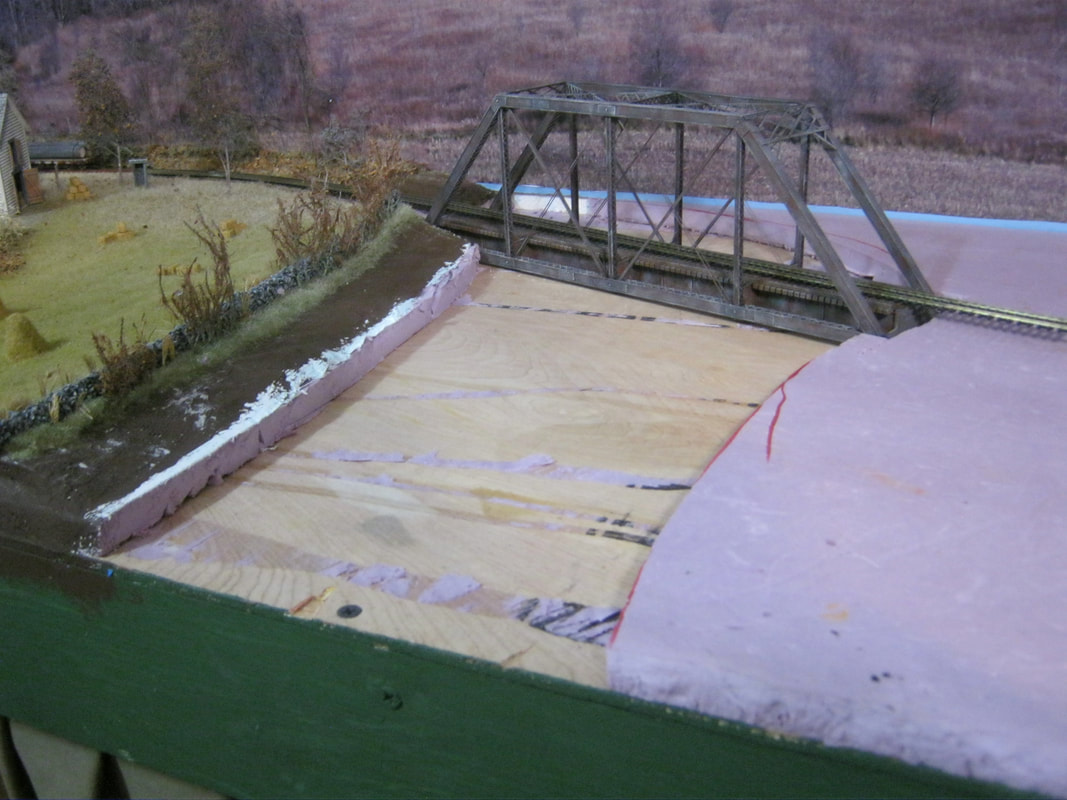
Above, where in the planning stage I had put the river as seen by the lines, I laid the bridge, decided the actual shape for the river, marked the foam and then cut it and removed it. As seen at the top of the page from the original photo, the river bends sharply to the left and disappears around the corner just behind the bridge, so that is what I'm modeling on the layout.
|
|
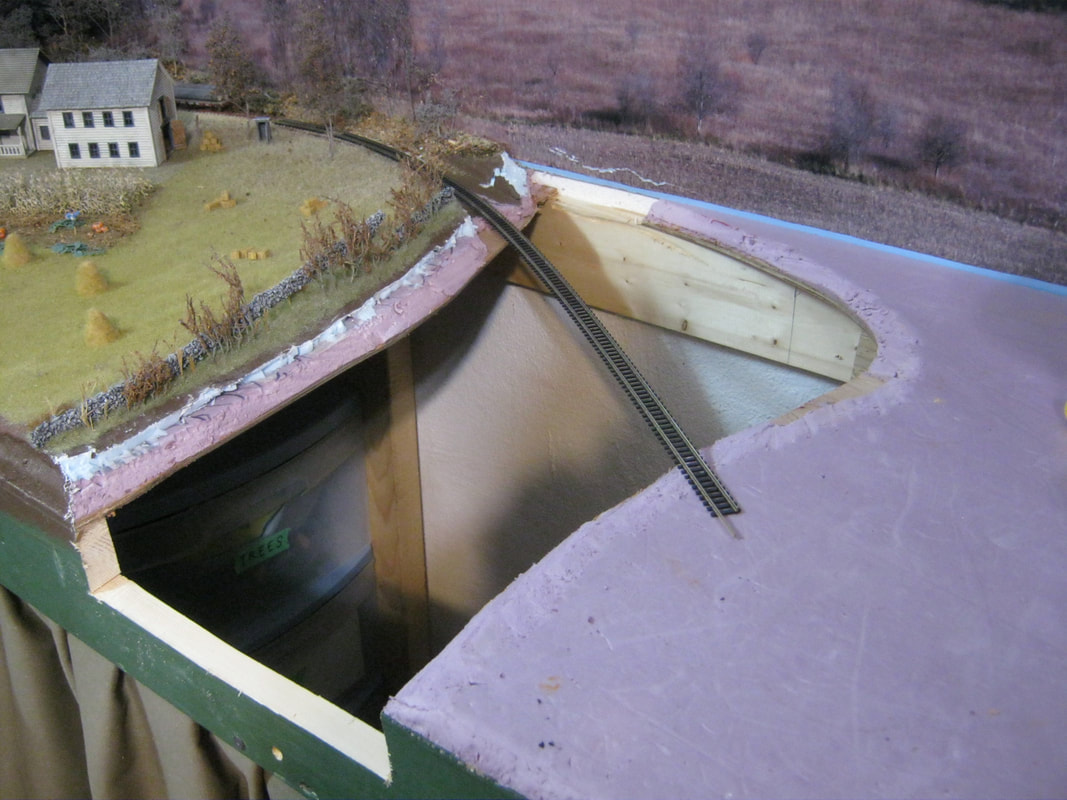
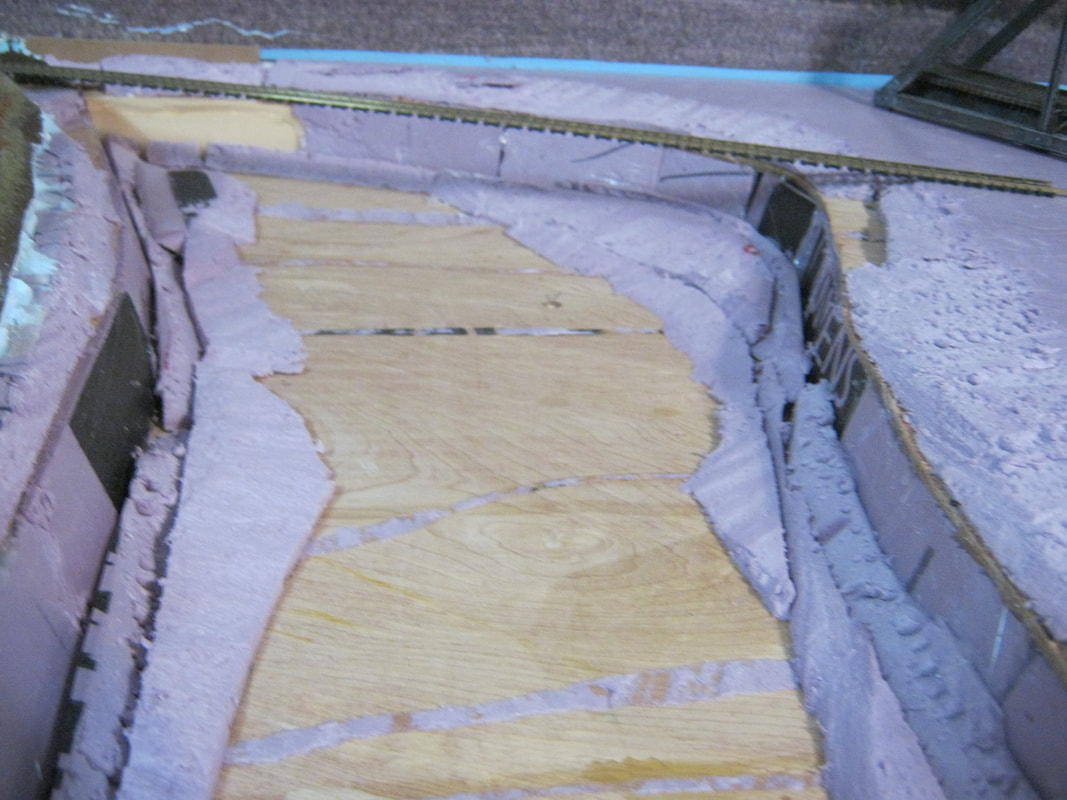
Above, after the foam was removed, I cut out the base of the river with a jig saw, and then lowered it two inches, leveled it with a bubble level front-to-back and side-to-side, then bracked it into place with scrap wood.
|
|
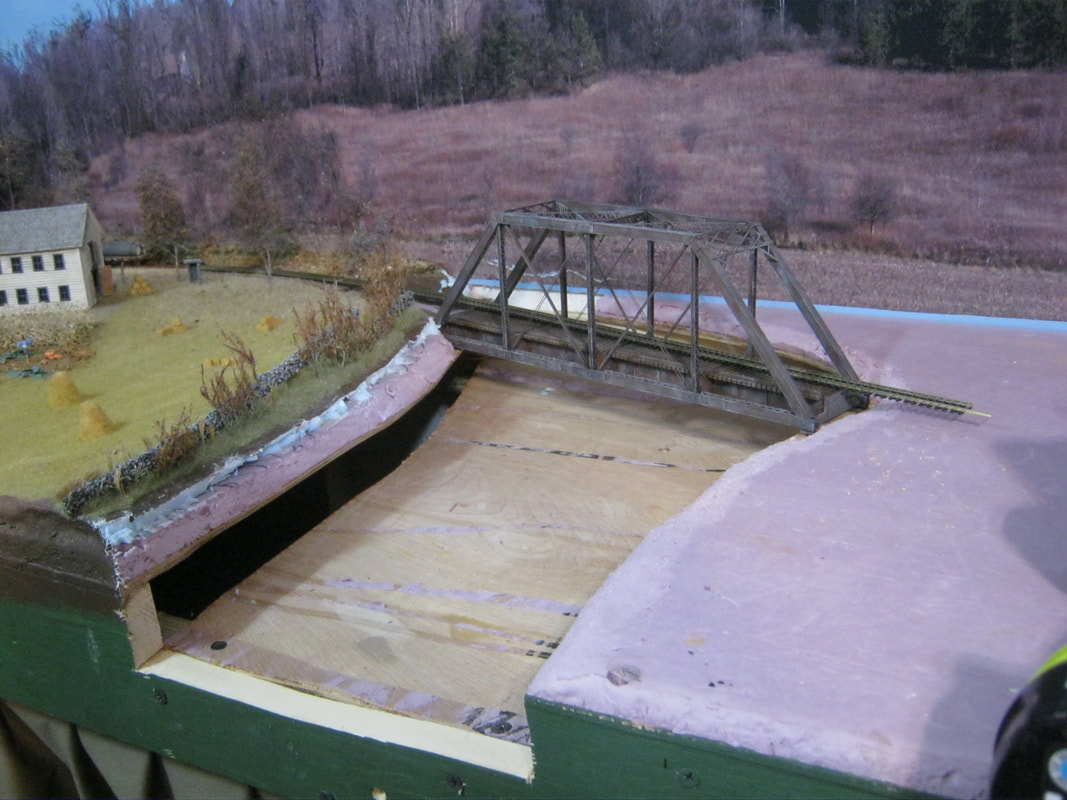
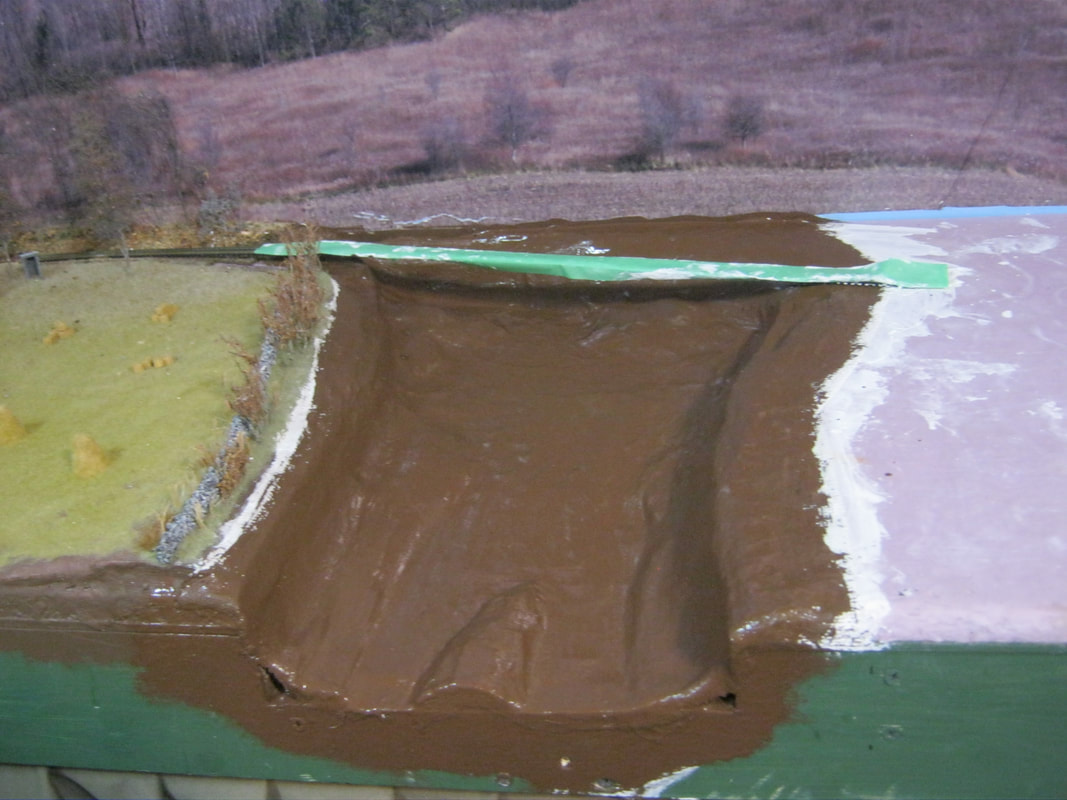
Above left, I used scrap styrofoam board to fill in the gap between the plywood sheets and form the bottom sides of the river bank. Above right, after the styrofoam was glued in, I covered the whole river area with two layers of plaster cloth, then sealed it with brown latex house paint.
|
|
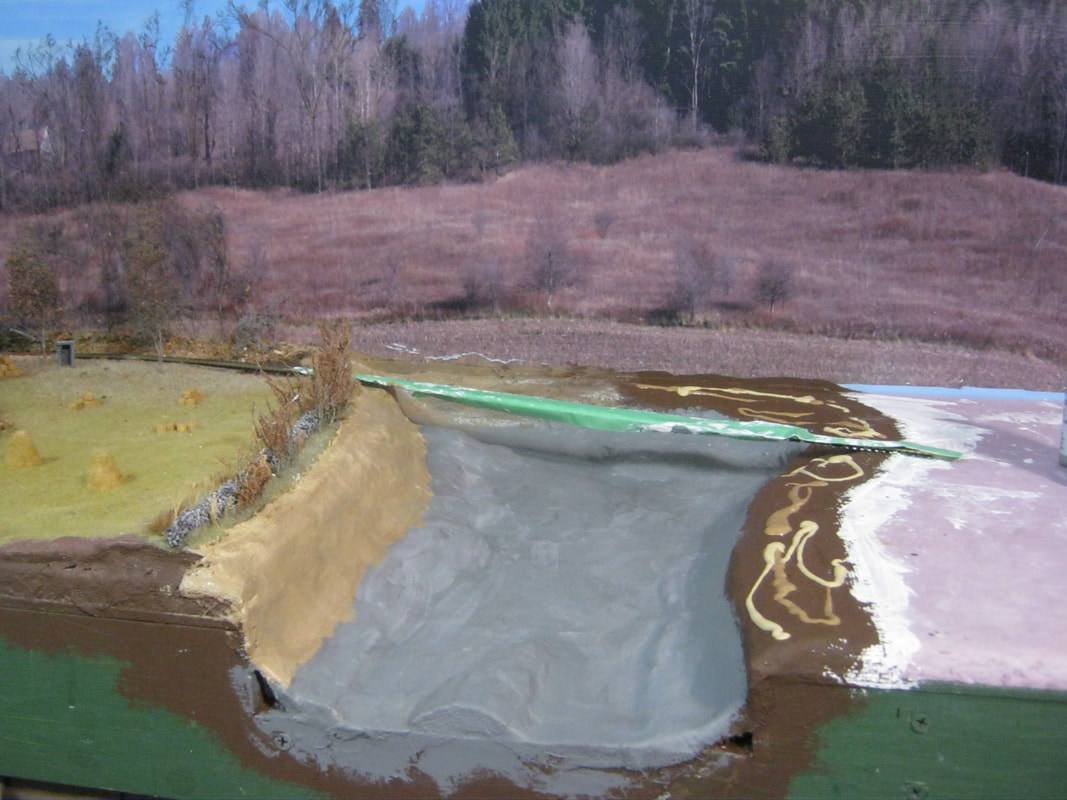
Above left, after the brown paint was dry, I painted a second coat of paint using two shades of tan acrylic mottled together on the river banks and two shades of gray on the river bottom. I put the bridge in place several times while working on the river to help visualize how I want the scene to come out while I'm working on it.
|
|
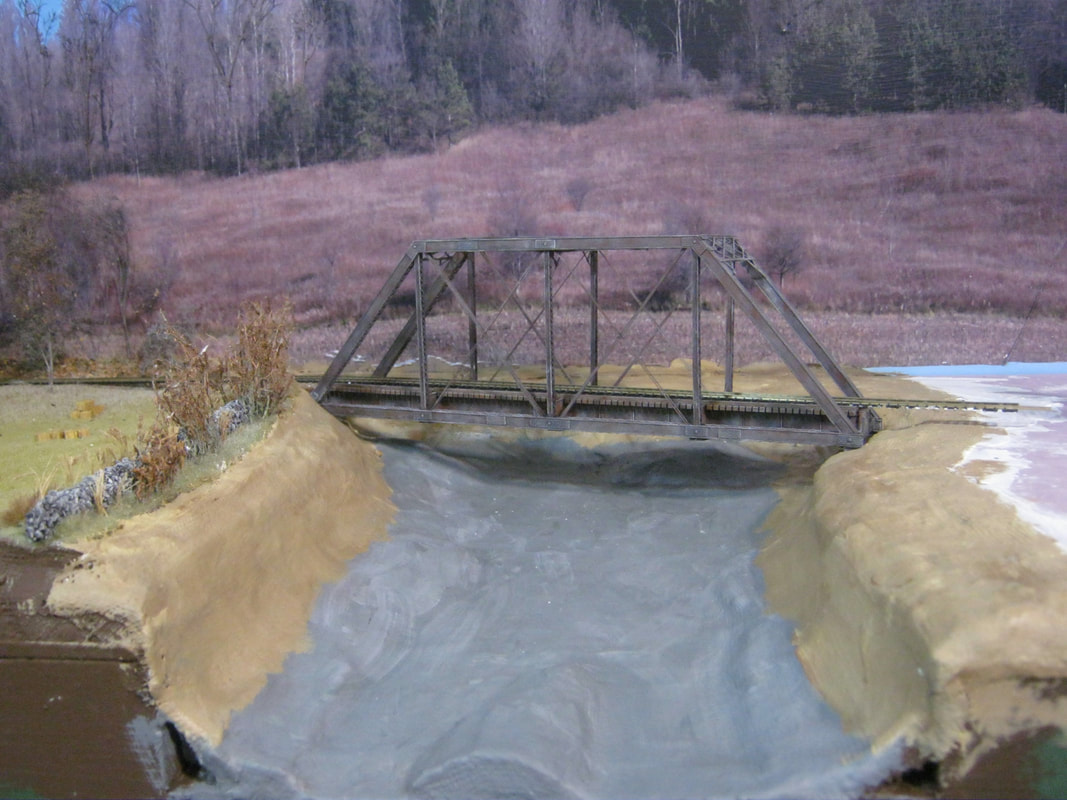
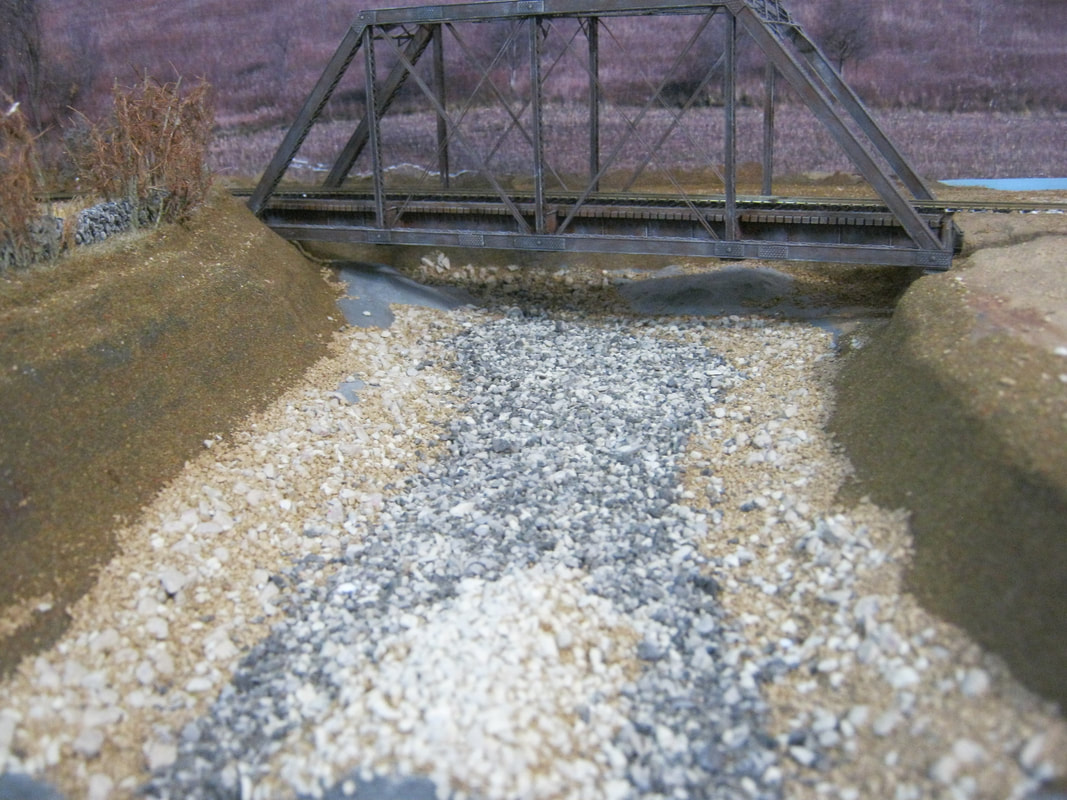
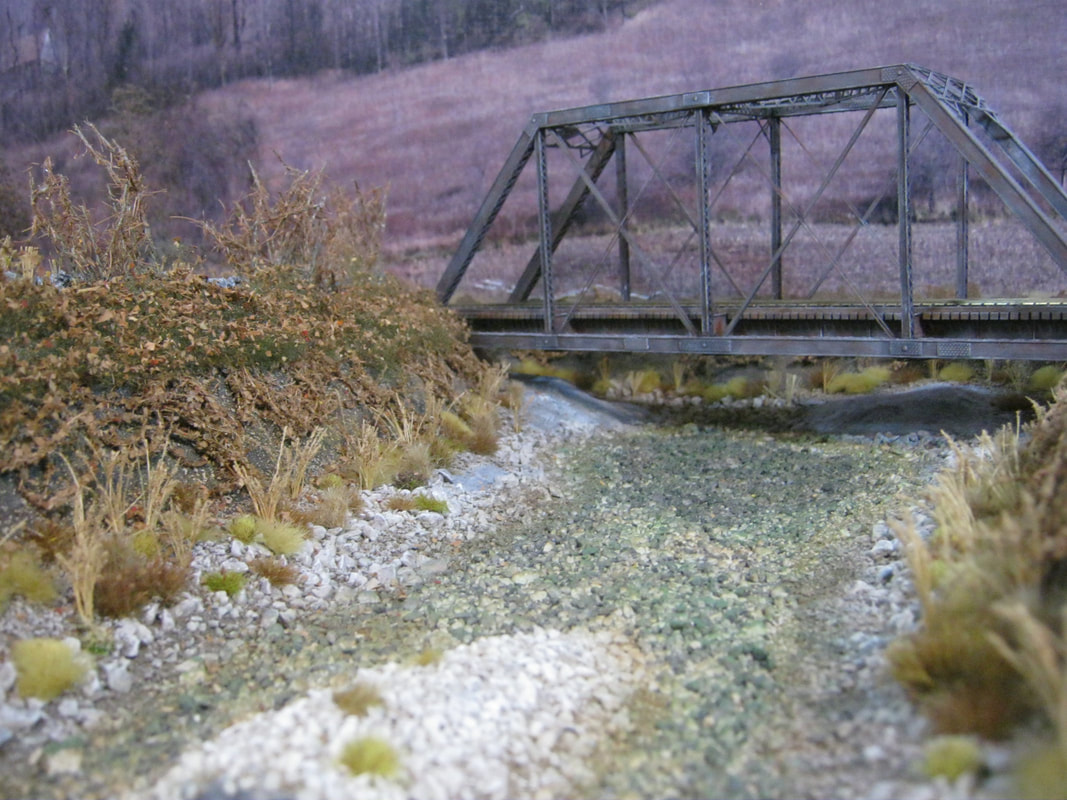
Above left, I first painted over the steep portions of the river bank with more of the tan mix and then blew 'earth' ground foam all over it for texture. I then sprinkled in a good thorough dose of large tallus, small talus, gravel, and fine tan ballast into the river bottom and banks. Then I sprayed the river bottom with 'wet water', and applied a good soaking of 1/2 matte medium and 1/2 water mixed over the river bottom to hold all the tallus and whatnot in place.
Above right, after the matte medium had dried, I rubbed the talus and everything very hard to get rid of all the loose talus and gravel and form the river bottom better. After that, I dry brushed the river bottom with a light brown acrylic and light green acrylic, to give the sense of marine growth in the river after the water is poured. I sprayed the steep banks with hair spray, and blew ballast onto it to give it more texture. Then I soaked everything with more matte medium/water to seal everything into place.
Above right, after the matte medium had dried, I rubbed the talus and everything very hard to get rid of all the loose talus and gravel and form the river bottom better. After that, I dry brushed the river bottom with a light brown acrylic and light green acrylic, to give the sense of marine growth in the river after the water is poured. I sprayed the steep banks with hair spray, and blew ballast onto it to give it more texture. Then I soaked everything with more matte medium/water to seal everything into place.
|
|
Above left after the matte medium/water was dry, I dry brushed the steep portions of the river bank with some light brown and tan to vary the colors of it. Then I applied various sized of fall colored grass and weed tufts, tall dead weeds, vines and roots to the steep eroded portions of the river bank. The overhanging vegetation at the top of the river bank is green poly fiber stretched very thin, then sprayed with hair spray and given a good sprinkling of ground up dead leaves.
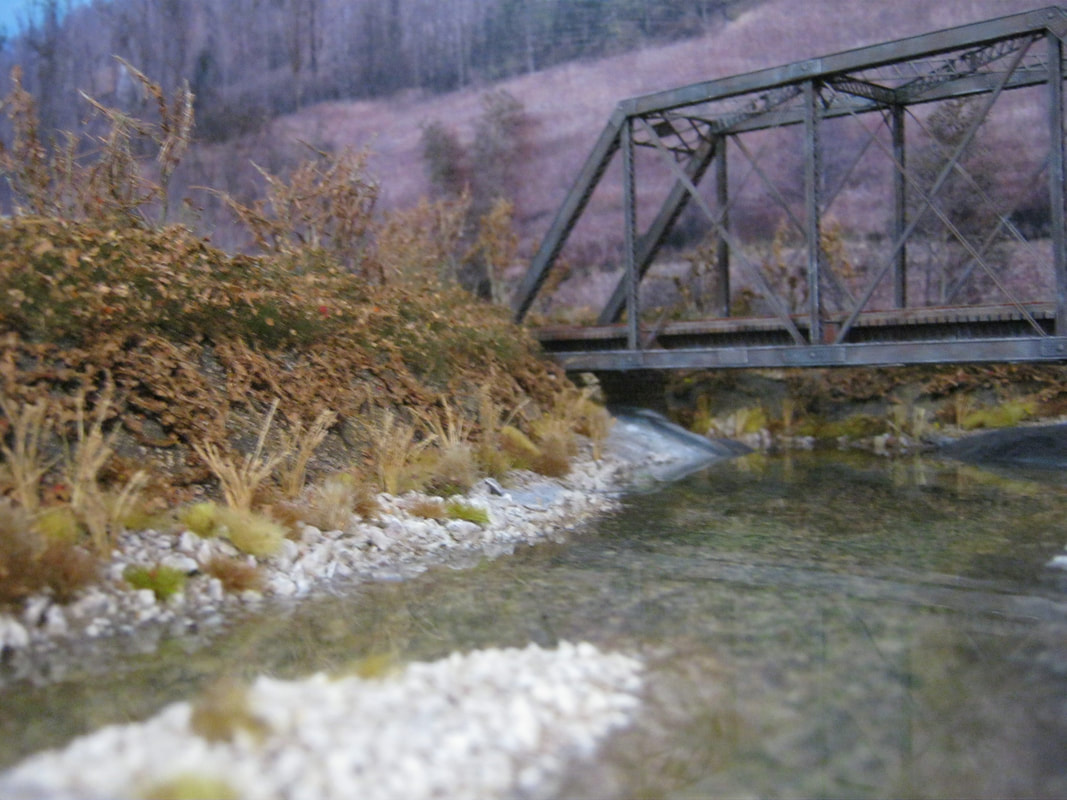
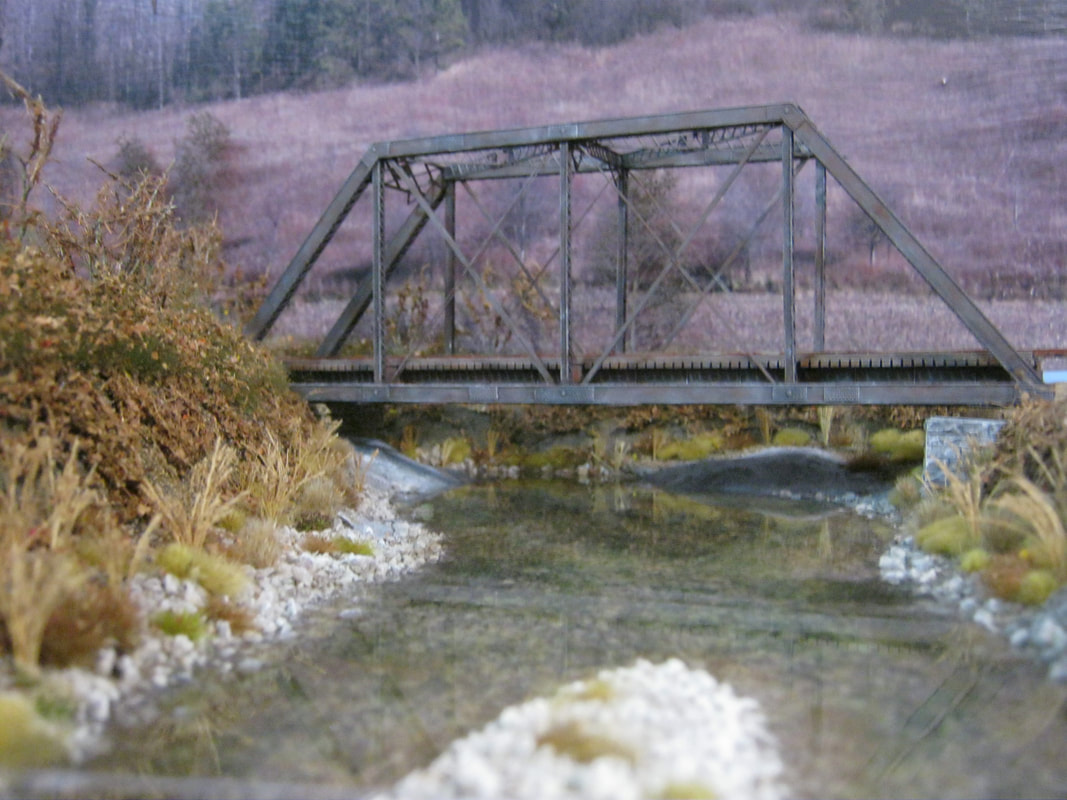
Above right and below, the gloss clear casting resin is now poured to add the 'water' to the river.
Above right and below, the gloss clear casting resin is now poured to add the 'water' to the river.
|
|
|
|
|
