TREES, LOGS AND STUMPS
The trees:
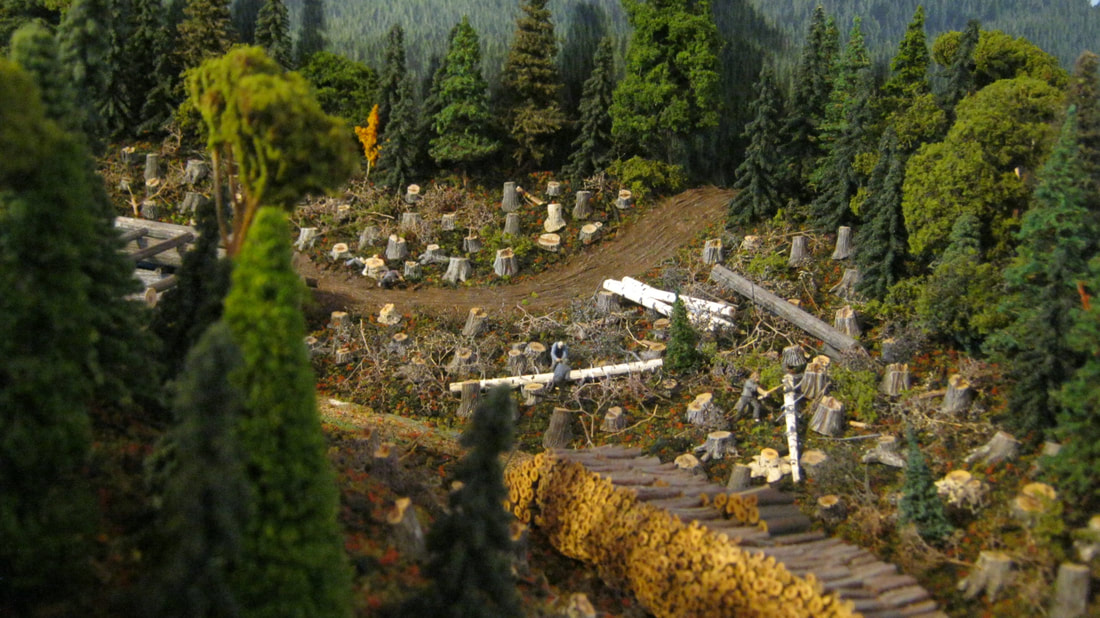
I once read Bob Hayden say in one of his publications, that he had never seen a layout with enough trees on it. Well, the Sandy River & Rangeley Lakes Railroad was primarily about the trees in Franklin County. I grew up in the Appalachian foothills of western Maine, 30 miles from Phillips, so I know a thing or two about trees in Maine. So one of my goals on this layout is making a replica of what it really looks like where I grew up. I think maybe, just maybe, my layout might have enough trees on it to do that.
|
|
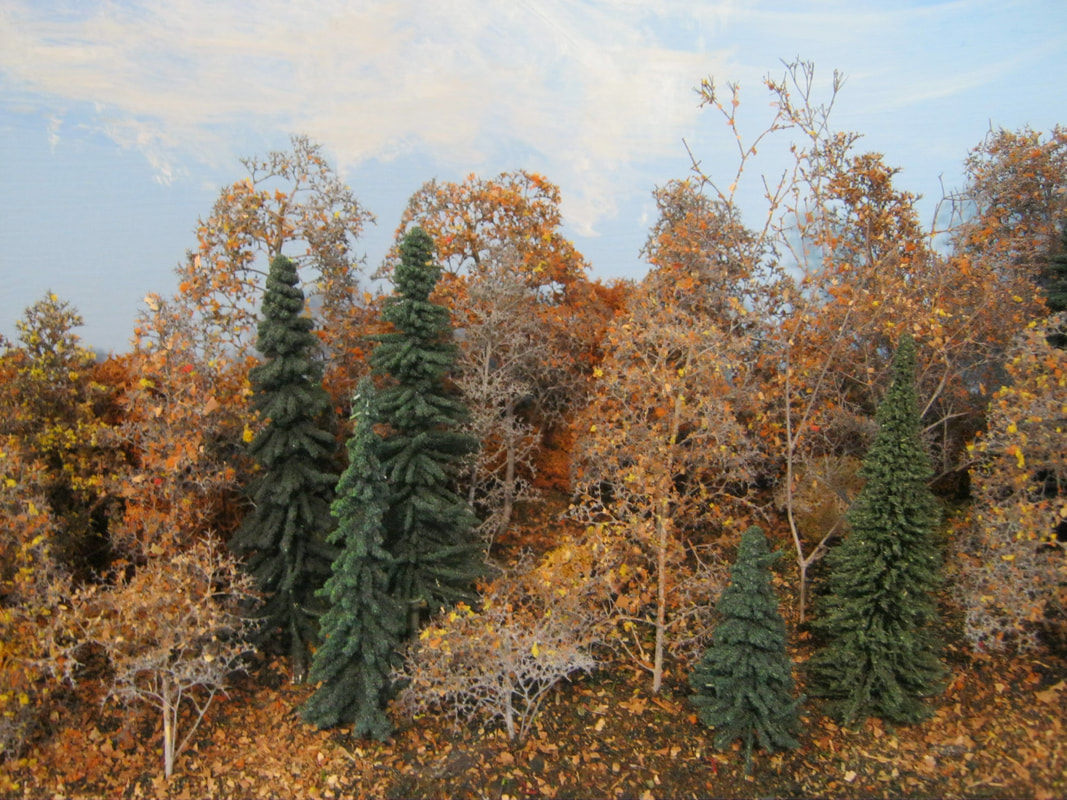
Above left, this section of late Fall trees is made from "Super Trees" armatures with orange and yellow ground foam, and ground up dead leaves from the backyard. The evergreens are a mix of Bachmann, JTT, and Grand Central Gems evergreens. For the deciduous trees, the Super Trees armatures are first sprayed with a coat of dried floral preservative from the craft store. Then they're sprayed with a solid thorough coat of gray auto primer. After that, they get a light misting of white spray paint from above the branches, and a light misting of black spray paint from below the branches, to help create the effect of sunlight from above and shadow from below.
After they have dried, they get a good wet coat of hair spray, then a sprinkling of a mix of orange and yellow ground foam. I soak the ground foam in diluted brown acrylic craft paint first, then squeeze out the diluted paint and let the foam dry. This tones down the 'loud' colors that the foam comes in. After the foam is sprinkled on, then another coat of hair spray, and ground up dead leaves are sprinkled on. Then another coat of hair spray to help lock everything in place on the branches.
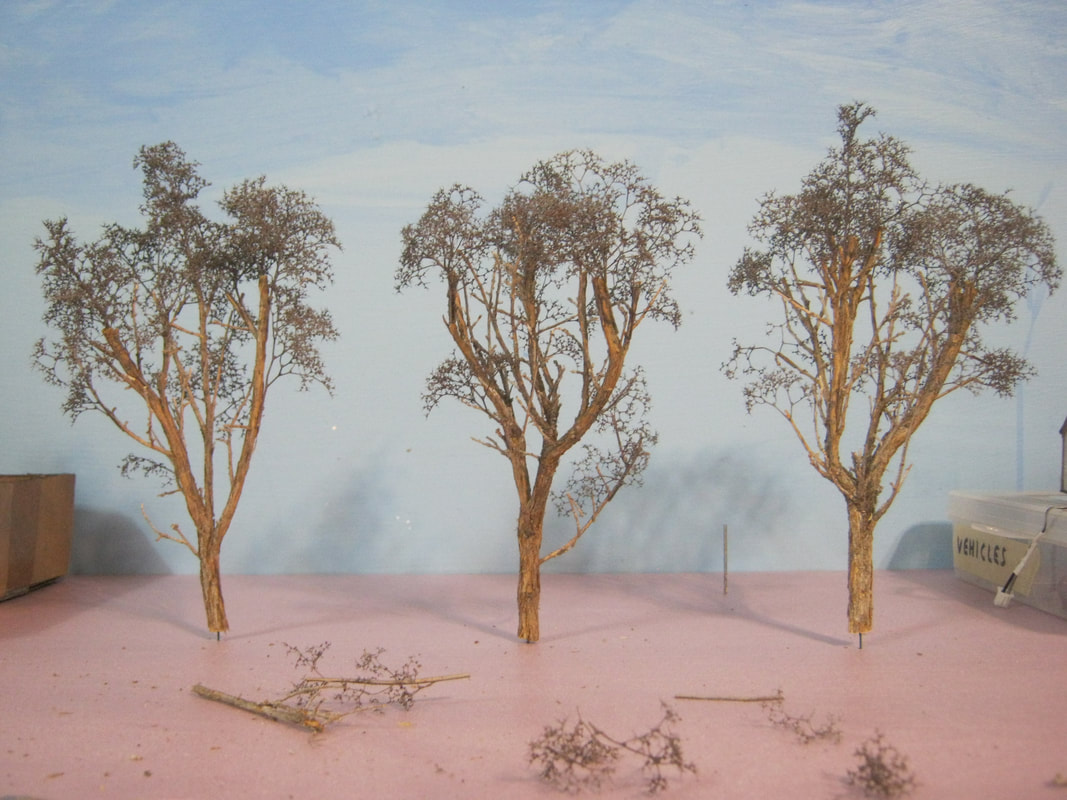
The trees in the upper right photo are made from Super Sage armatures with Super Trees branches glued on with super glue gel. I leave the sage as-is, but the Super Trees branches get the same treatment as the process described in the first paragraph.
These are not as expensive at the sticker price on the boxes of Super Sage and Super Trees would suggest. You may pay $25 or $30 for a box of Super Trees material, but I get about 80 trees out of a single box, which is a lot cheaper than buying a box of half a dozen ready-made trees for $12 bucks, which is $2 bucks a tree, or much more for one that will look as good as these that you can make yourself.
These trees, you put up front or in important scenes on your layout, where detail matters. Put the pipe cleaner trees and lychen moss out back where all you need is color and texture.
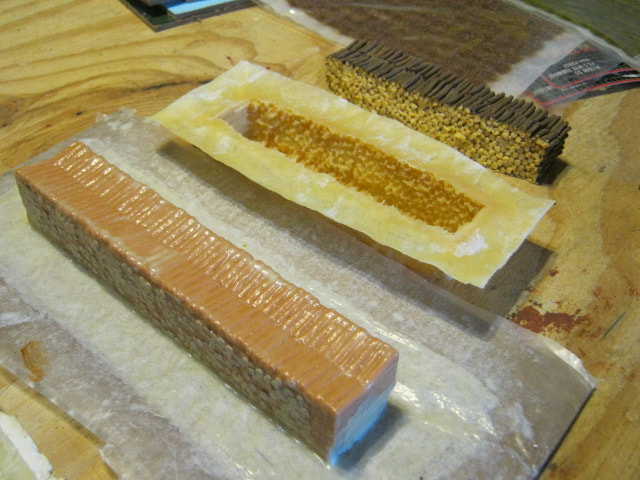
The stumps:
|
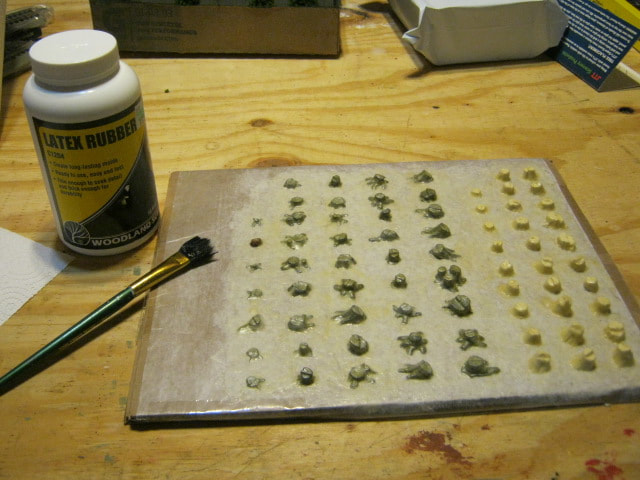
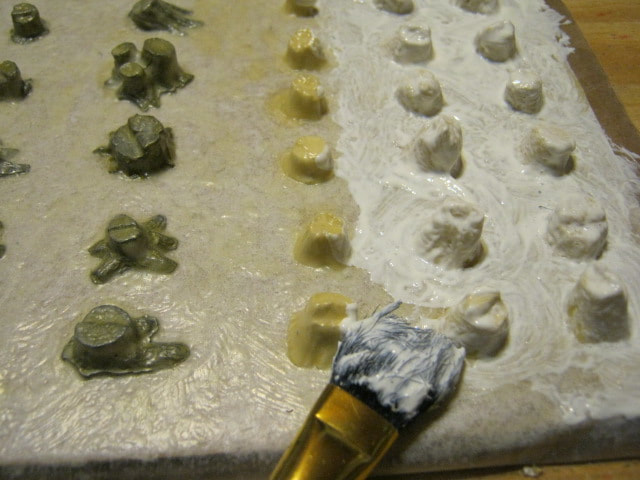
Knowing I would need hundreds (thousands?) of stumps, I decided to learn to cast them. I bought a couple of different brands of metal and resin stumps and glued them down on wax paper. I then sprayed cheap furniture polish all over them and let it dry thoroughly. This probably wasn't necessary, since when you cast them, you pull them out of the mold and you don't need the wax furniture polish anyway.
|
|
|
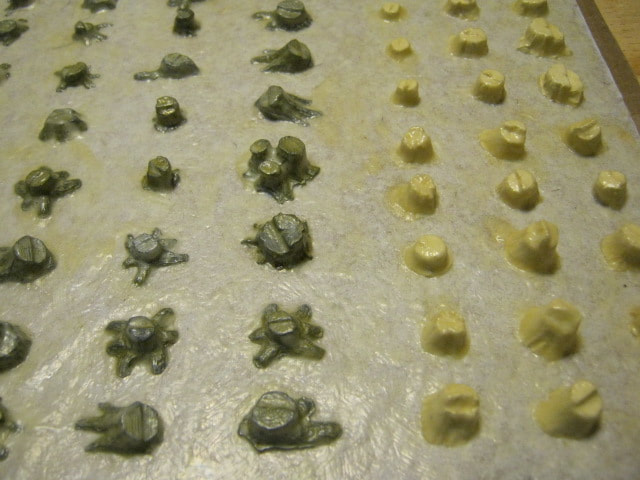
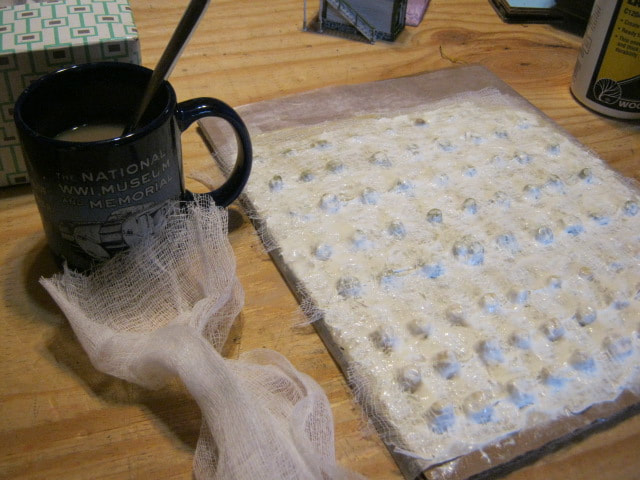
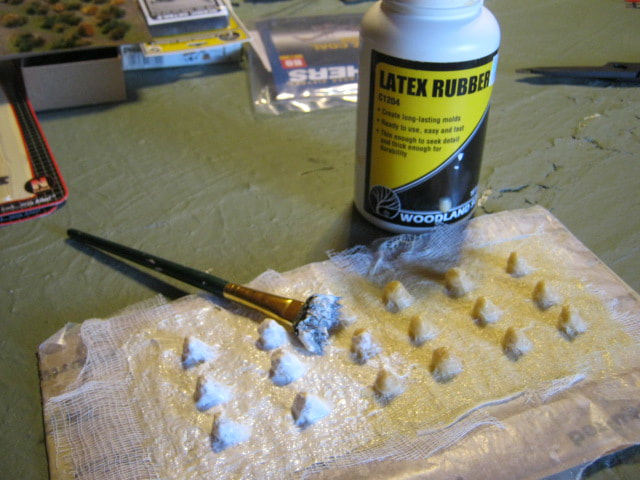
Woodland Scenics makes latex rubber, and you simply paint on thin layers of the rubber over the stumps like you would latex paint. It's water soluble, so you can rinse the brush after each coat to make the brush last longer, but by the time you're done making the mold, this brush will be toast. After 3 coats of rubber, I lay gauze over the stumps, and then embedded the gauze into the mold by
|
|
|
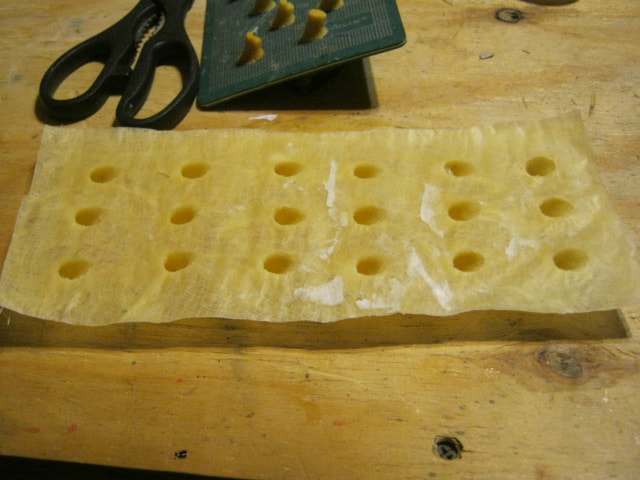
dabbing it into and around the stumps with more latex rubber. After that layer is dry, I added two more coats of rubber. The gauze ensures the mold will not rip apart when you're pulling the stumps out of the mold. After the mold is done drying, I pulled the stumps out and trimmed the edges of the mold with a pair of scissors.
|
|
|
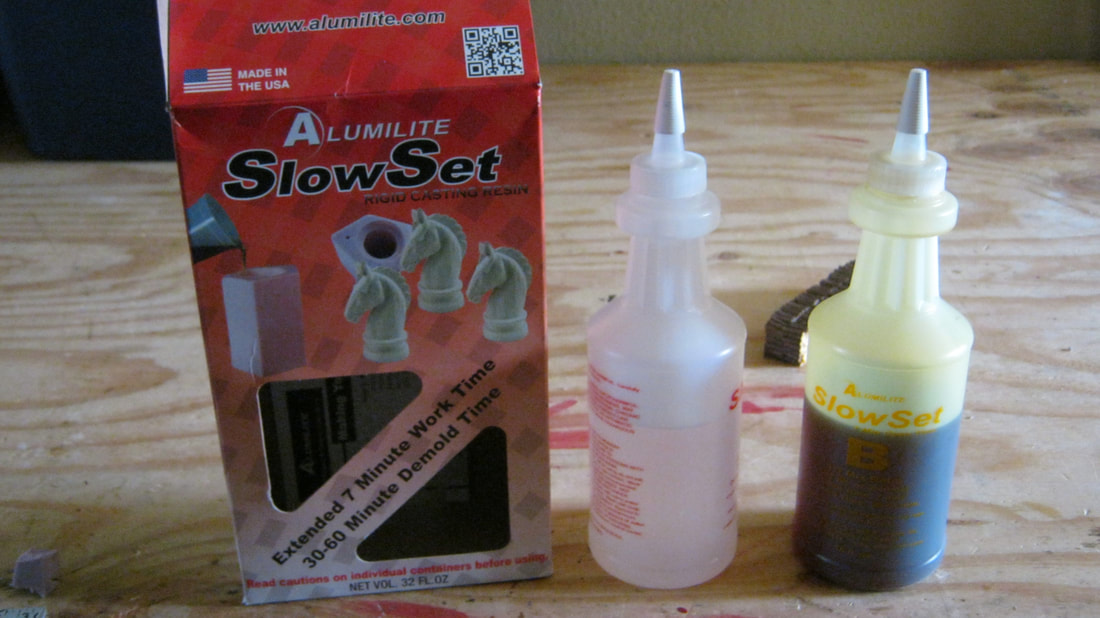
The stump mold worked so well, that I found a cheap pulpwood load from an HO pulprack rail car, and another one that is a much better pile made by Chooch. I did the same process to make molds of them, and have since made more molds of home made log piles. I use Alumilite Slow Set resin that I get at Hobby lobby. I measure it with cheap disposable shot glasses from Spec's Liquor Store and mix it in paper cups.
|
|
|
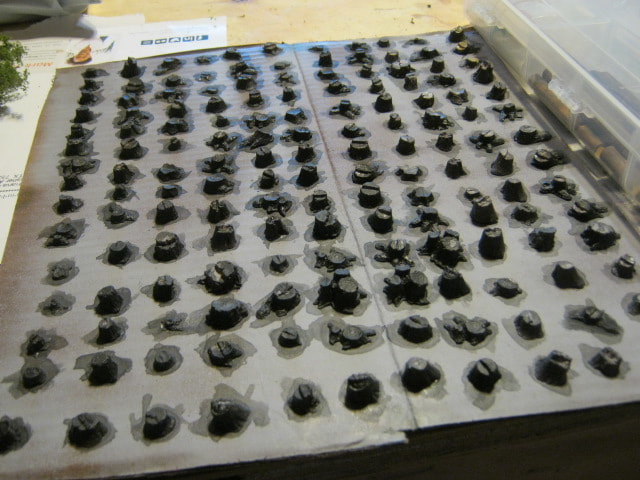
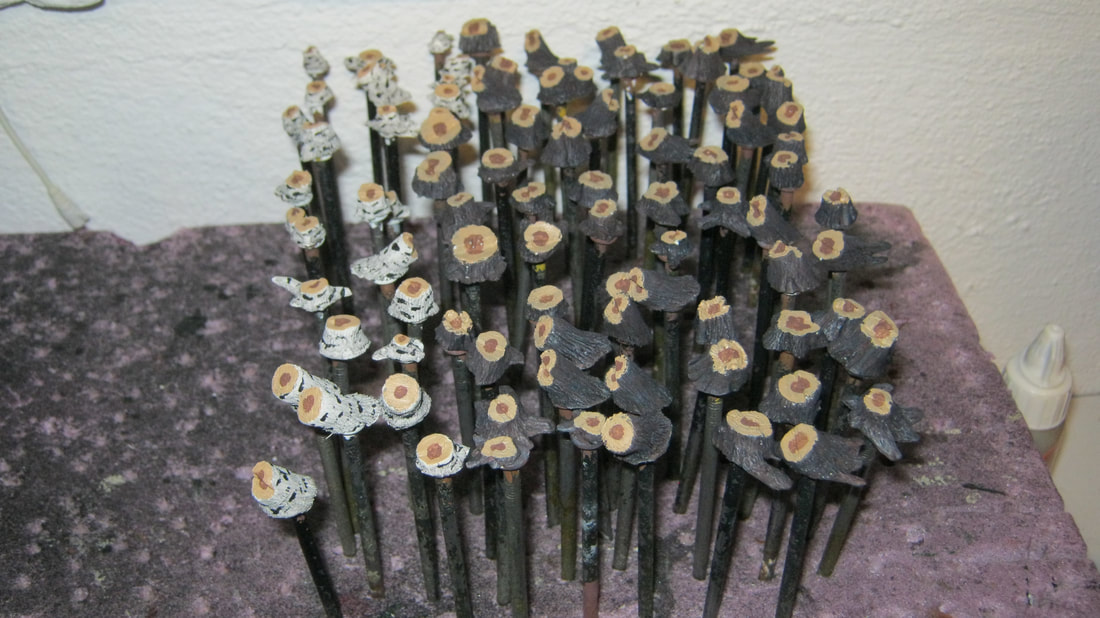
I've used two methods for painting. Sometimes I glue them onto wax paper with a dot of wood glue, and sometimes I glue them onto finishing nail heads. Painting goes quicker on the paper, but I get better quality control on the nail heads. I use acrylics, and the first coat is a medium brown, followed by a damp brush of medium gray, followed by a dark gray wash, then paint the top wood, then a light brown spot for the core, then dry brush the whole thing with oyster white.
|
|
|
The process is the same for birch, but using oyster white for the bark with black lines and smears. When I emplace them, I dip the bottom in a shallow lunch meat container of wood glue, and plop them down all over the place onto a bed of ground foam, and then blend them in with a bit more ground foam. The stumps at left still need to be blended, and then sawdust sprinkled around them from being cut with axes and saws.
|
The logs:
|
I knew I'd need a lot of logs, as I would the stumps, but the more logs I made the more I realized I needed to make larger and larger batches of logs 'next time'.....every time.
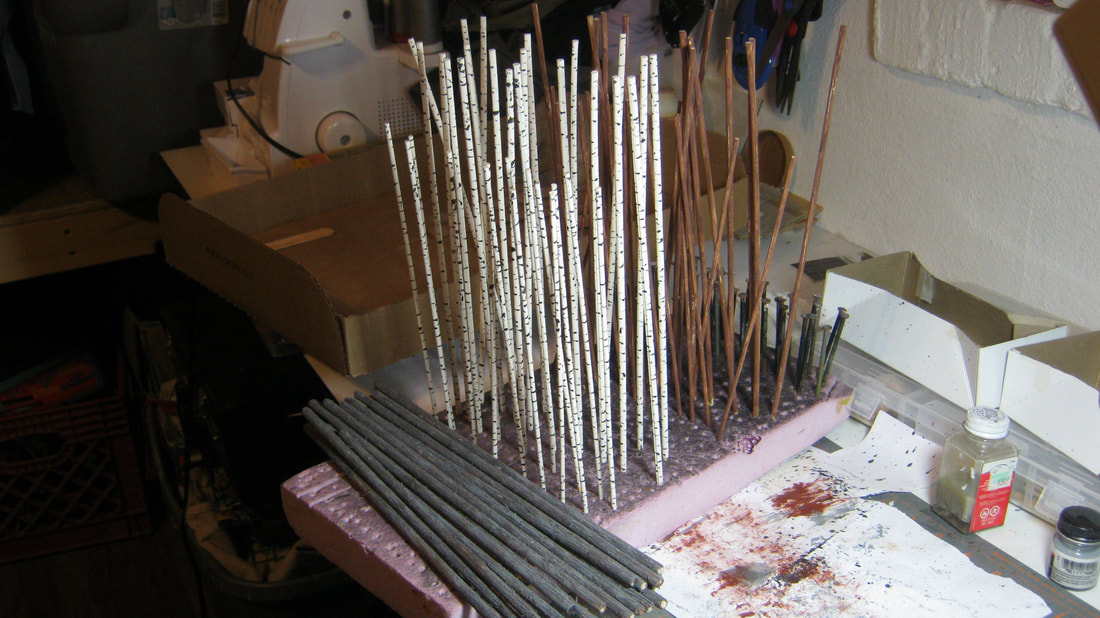
So now I make them in batches of a couple of hundred at a time. I've switched from getting extra chop sticks at restaurants to buying dowels in bulk at Hobby Lobby. I use 1/8", 3/16", 1/4", 5/16, and 3/8" for most logs, and 1/2" for the really 'big' buggers. I've got a good thick small circular saw blade that I drag up and down the dowels many times to rough them up for the bark, and for the birch logs I don't rough them at all. |
|
After roughing them up, I paint them with diluted acrylics in the same colors that I use for the stumps, and in the same sequence. I go with a medium brown first with a really good wet brushing to sink into the bark cracks made by the saw blade, then a damp brushing with light gray, then a black wash, and then dry brushing with oyster white. When the first brown coat goes on, I'll leave thin streaks of unpainted wood, and when the logs are done, these streaks of raw wood help the effect that these logs have been scarred during the logging and transportation process. The birch are simply painted oyster white and then I use a tooth pick dipped in flat black to make the irregular black patterns on the trunks.
|
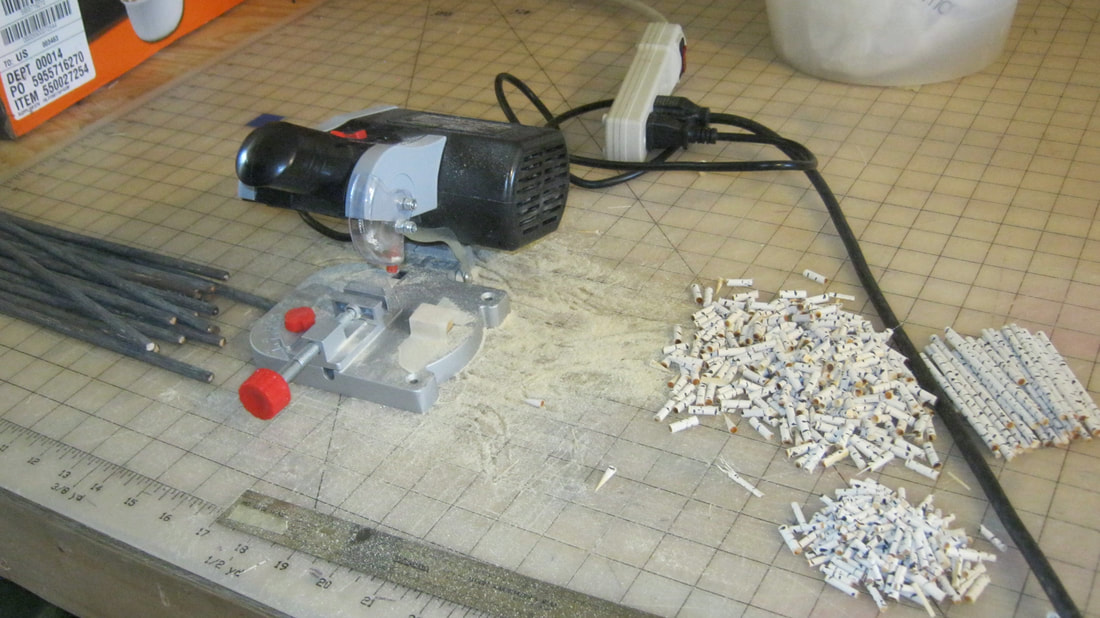
When cutting my logs, I use a sort-of jig system to cut them. I tape a block of wood to the base of the chop saw a scale 4' to the right of the blade, as seen in the photo above. I then place a piece of tape on the mat to the left of the blade a scale 56' away. I then feed the dowels from the left side of the chop saw, through the work clamp that is left just loose enough to hold the dowels steady as they're cut, but can move freely through the clamp. The dowels are gently pushed against the block for the correct measurement, then the dowel is cut, moved out of the way if it hasn't moved on its own, and the dowel slid to the right again and cut again, etc. I keep an eye on the left end of the dowel as it's fed to the right being cut, and once the left end of the dowel reaches the 56' mark, it is set aside in a pile.
Once every dowel has been cut down to 56' and i have a pile of 4' pulp wood, then I remove the wooden block from the base of the chop saw. I then put a piece of tape on the mat a scale 28' to the right of the blade, and cut each remaining 56' log into two 28' logs. That is the standard length I use for logs that will be sent to the mills to be cut into long lumber. They will fit on any of my flat cars whatever the length of the flat car.
I sweep up all the miniature sawdust and save it to sprinkle around mill yards and stumps in the strip cuts of the logging operations.
|
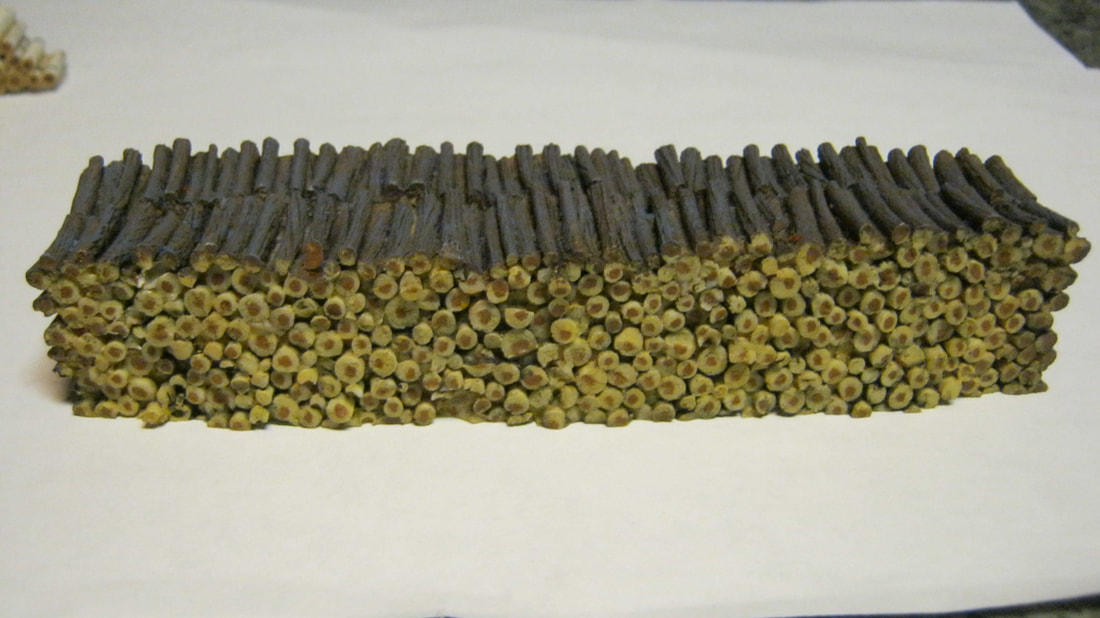
The log pile at right is a single casting of resin, made from my home made rubber molds. The process for painting them is again the same basic painting procedure I use for individual logs and stumps.
The main difference is I'll go over the faces of the log piles first with slightly diluted flat black acrylic, to make sure it completely sinks in between the ends of the logs. This makes the pile seem more like it is made of individual logs because of the enhanced shadow effect between the log ends. After the pile has been completely painted, but before dry brushing with oyster white, I will again do a black wash across the top f the pile to enhance the shadow between logs on top. |
|
|
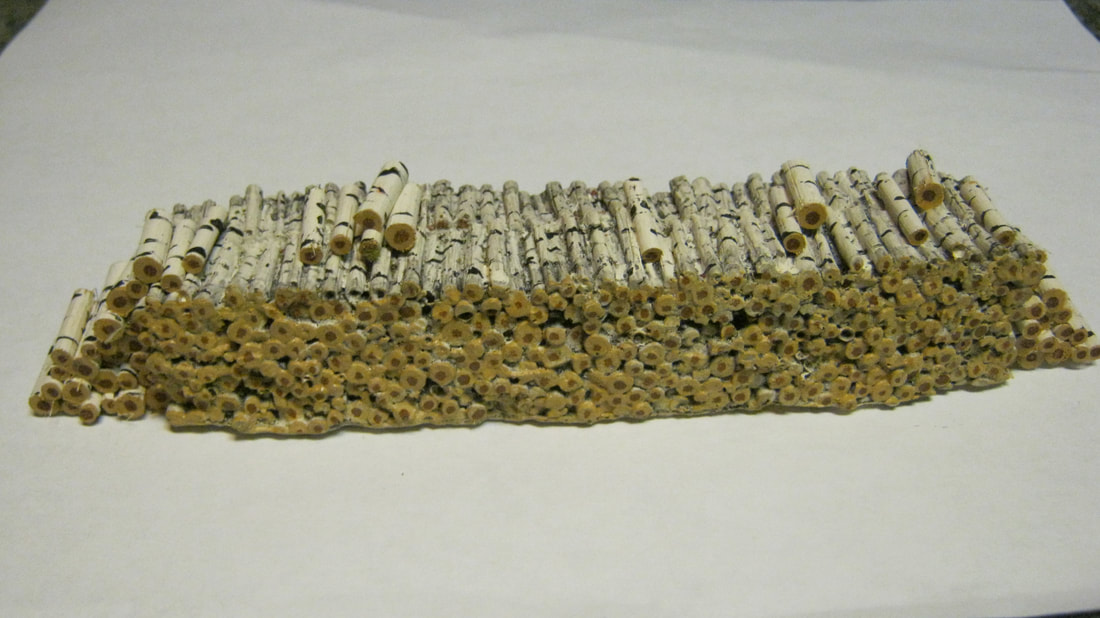
To the right is a completed pile, this time of birch. To make the pile realistic, individual dowel-made logs are piled at the ends of the resin casting the way logs are normally piled, sloped from bottom to top, because you know, gravity works.
A few random logs are 'tossed' onto the top of the pile to further the effect that the pile is made up of individual logs. |
|
If you have the question, "why don't I simply go outside and collect real branches to cut into logs", well, here's the main but not only answer; I'm allergic to just about everything out there that you can be allergic to, and am on a ton of meds for it with air purifiers in the house running 24/7 (damaged immune system courtesy of Desert Storm). So I can't go outside much, and don't need to be bringing all the stuff outside that I'm allergic to into my house.
